Author:
A Guide to Positive Displacement Flow Meter Calibration
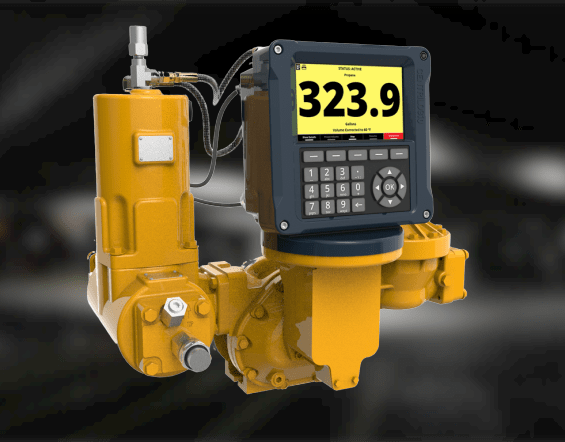
A positive displacement flow meter is the only flow measuring technology to directly measure the volume of the fluid that passes through it. It works by trapping pockets of fluid between rotating components housed within a high precision chamber.
The volume that passes through the flowmeter is recorded with a geared mechanical register or used to give an output of so many pulses.
In this write-up, we’ll be covering in detail about positive displacement flow meters, and also list steps to calibrate this device.
How It Works
As mentioned, positive displacement flow meters depend on moving parts to displace fluid through them, and these parts must be locked against each other to avoid leakage. Although the parts in individual flow meters can vary based on the design, all such devices are built with the following components:
- High precision measuring Chamber
- Rotating Components
- Inlet & Outlet
Here the fluid enters the measuring chamber through the inlet and proceeds to rotate the rotor. Based on the speed at which the rotor rotates, the subsequent volumetric flow rate is calculated. Once it’s done, the fluid exits the meter through the outlet.
Typically, in positive displacement meters, the rotors are made up of two gears that are aligned to each other either horizontally or vertically. The gears here create a seal within the chamber and thereby block the fluid to be measured for a short period before it leaves the chamber.
Why to Calibrate PD Flow Meters
All our meters are tested at the factory for repeatability & to ensure they comply with published accuracy specifications. However, final calibration must be performed upon installation to compensate for difference in the characteristics of the actual metered liquids and the test liquid, the test standards used, the test methods employed, the test personnel, the local regulatory standards, and the system characteristics, including flowrate. This is true of all flowmeters, irrespective of make/model. In industries, flow meters are periodically calibrated to ensure that measurements are accurate allowing operations to proceed in a safe and timely manner.
For example, a weighing scale that indicates 2 kg when nothing is kept on it, needs to be recalibrated & reset to indicate an initial zero value.
It is not possible to define general rules for the required frequency of calibration. If operated under good working conditions, our meters do not require periodic recalibration nor should they need to be re-calibrated over the operational life of the meter.
However, good working condition is a matter of proper use and maintenance. Some meters may experience an accuracy drift over time due to environmental or application related factors. If a meter is suspected to have drifted outside of its published accuracy range, it can be sent back to us for local third party calibration.
For most applications however, it is the relevant Weights & Measures local authority or the client/user who must define the calibration interval and the policy to determine when to calibrate.
